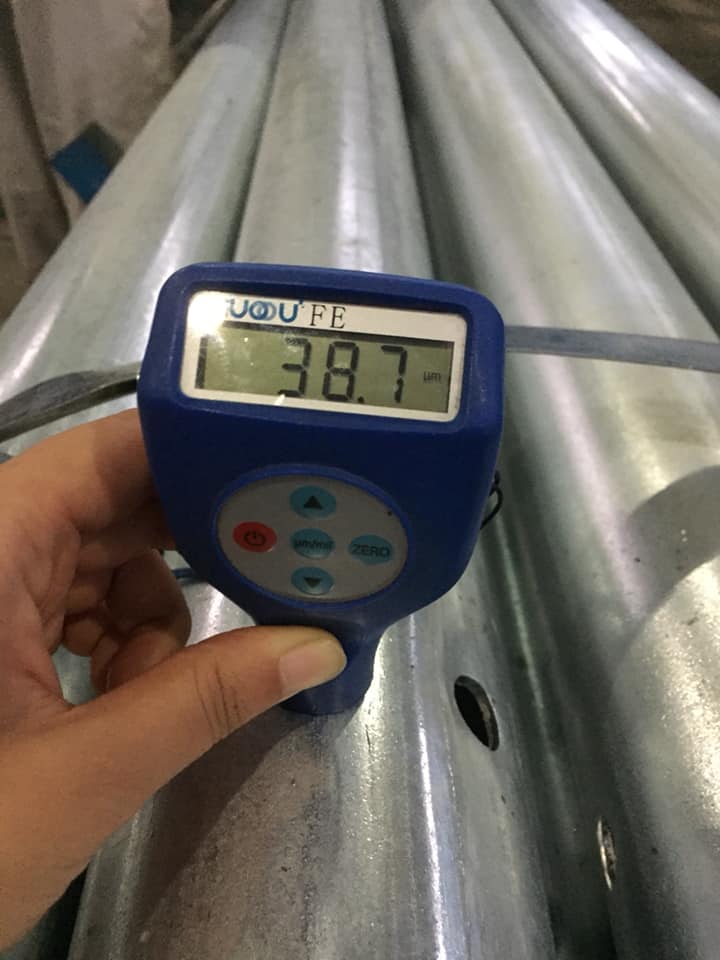
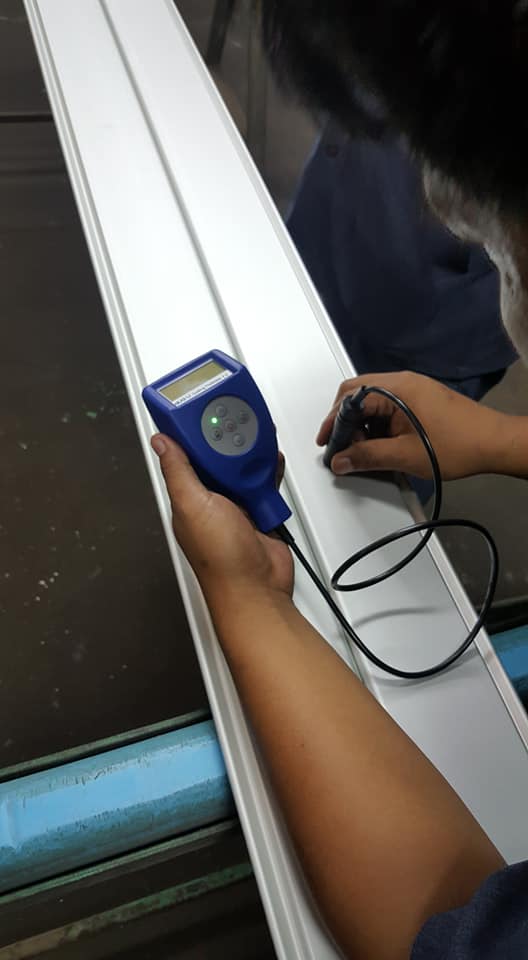
The thickness of the coating is a common method for evaluating product quality. We often need to spot check and quality inspection of the workpiece. At this time, the most commonly used equipment is the coating thickness gauge. By judging the thickness of the coating, understand and evaluate the corrosion resistance, wear resistance, porosity and other properties of the coating. Next, Guoou will talk to you about how to measure workpieces with magnetic and eddy current coating thickness gauges. Before explaining how to measure, let's first understand the measurement principle.
Principle of magnetic and eddy current coating thickness gauge:
The working principle of the magnetic method is based on the magnetic flux or mutual inductance current of the probe to the magnetic substrate. The thickness of the non-magnetic coating on the surface is different, and the linear change of the magnetic flux or mutual inductance current of the probe is used to determine the coating thickness. Therefore, this method is suitable for Detection of the thickness of non-magnetic coatings on magnetic substrates.
The working principle of the eddy current method is to place the built-in high-frequency current coil probe on the coating, and generate a high-frequency magnetic field in the coating to be tested, thereby generating eddy currents in the metal, and the magnetic field generated by the eddy currents reacts to the coil in the probe to make The impedance changes. With the change of the coating thickness of the substrate surface, the distance between the probe and the metal surface of the substrate changes, which reacts to the corresponding change in the impedance of the probe coil. Thus, the measured impedance value of the probe coil can indirectly reflect the thickness of the coating.
Magnetic and eddy current coating thickness gauges currently have a variety of products, such as Elcometer 456, Goou GTS8202 and so on. This coating thickness measurement method is simple, fast and easy, and the instrument is small and portable. Most of the field uses this method and know the principle, so let's talk about how to measure the workpiece below.

The first step of measuring the workpiece with the coating thickness gauge:
Detection method This method should debug the system before the measurement to ensure the measurement accuracy. Generally, the coating thickness gauge is used to calibrate the uncoated substrate before measuring the workpiece, whether it is for the process or for the measurement. In terms of instrument principles, it is recommended to do so.
The second step of measuring the workpiece with the coating thickness gauge:
According to the size of the effective area of the coating of the tested workpiece, different measurement points are used to measure the coating workpiece with an effective area less than 1 square centimeter (1 cm2) at 3 points; for the coated workpiece with an effective area greater than 1 cm2, select the benchmark Measure 3~5 points in the plane; for the coated workpiece with an effective area greater than 1 square centimeter, make 9 points and 10 measurements in the selected reference plane, where the first measurement point coincides with the 10th time. The distribution of each measurement point is shown in the figure below.
Remarks: 1cm2=1 square centimeter, used to measure the size of the object surface.
The third step of measuring the workpiece with the coating thickness gauge:
Measure the influence of the factors of the base metal itself: thickness, magnetism, curvature, surface roughness, machining direction and remanence, etc.;
Influencing factors of the coating itself: thickness, conductivity, surface roughness, etc.; environmental factors: surrounding magnetic field, foreign attachments, etc.;
The influence of measurement techniques: probe pressure, probe orientation, edge effects, etc.
The fourth step of measuring the workpiece with the coating thickness gauge:
Determination of the reference surface When measuring the reference surface of the local thickness of the workpiece with an effective surface less than 1 square centimeter, the entire effective surface should be taken; when measuring each reference surface of the local thickness of the workpiece with an effective surface greater than 1 square centimeter, it should be 1 square centimeter ( Try to take a square with a side length of 1 cm.) The number of reference surfaces must be determined such that the total area of the reference surface is not less than 5% of the effective area, and the location of the reference surface should be evenly distributed on the entire effective surface.


