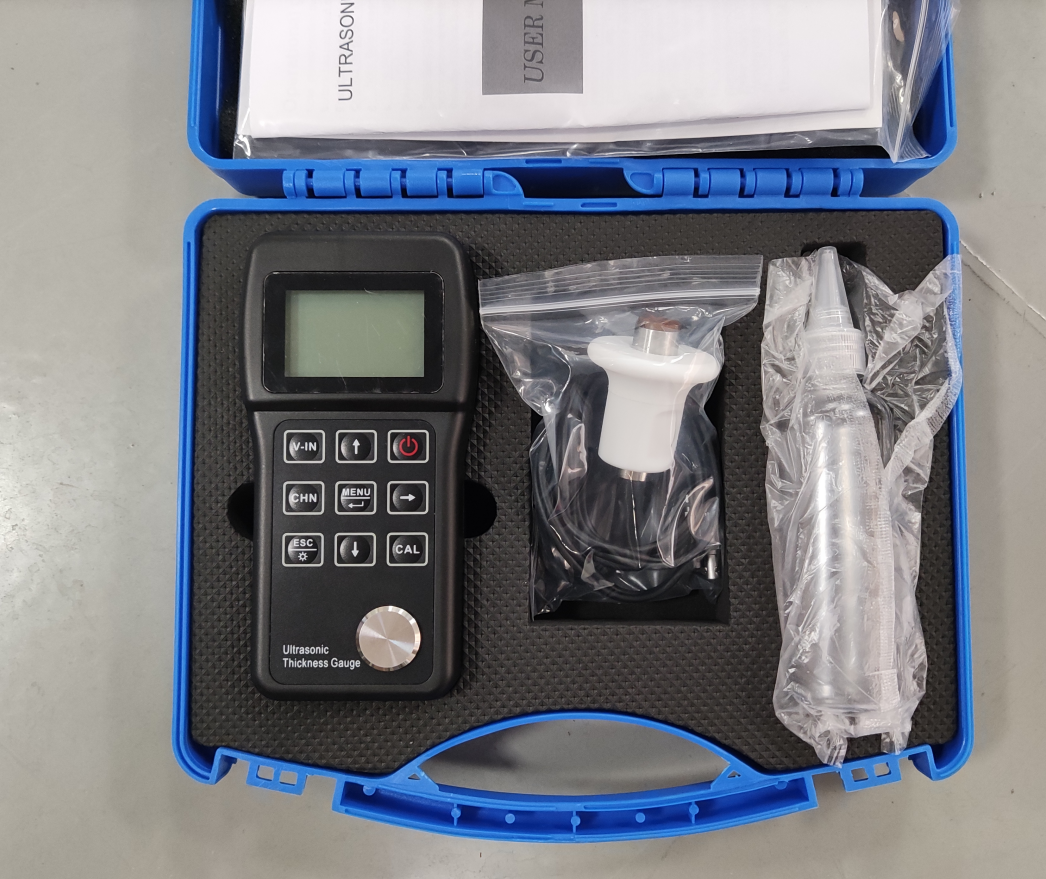
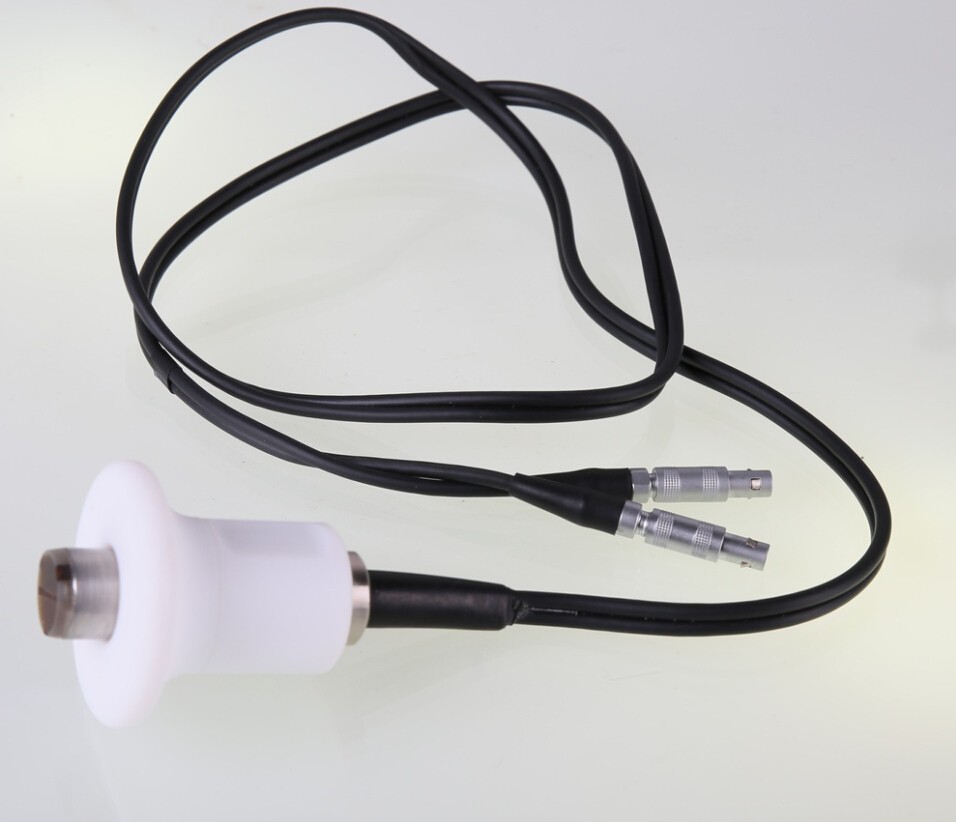
The maintenance of ultrasonic thickness gauge is very important and needs to be carried out regularly. On the one hand, it is to improve the performance of the device and ensure the measurement effect of the ultrasonic thickness gauge. On the other hand, it helps to extend the service life .So, what are the correct maintenance methods for ultrasonic thickness gauges?

Principle of ultrasonic thickness gauge
Ultrasonic thickness gauge is based on the reflection principle of ultrasonic pulses to measure the thickness of the measured object, that is, when the ultrasonic pulse emitted by the thickness gauge probe passes through the measured object and reaches the material interface, the pulse is reflected by the probe , And then the actual thickness of the material is obtained by measuring the propagation time of the ultrasonic wave in the material. This is the working principle of an ultrasonic thickness gauge. However, it should be noted that it can only measure the thickness of the material that enables ultrasonic waves to propagate inside it at a constant speed. For materials that cannot meet this requirement, the ultrasonic thickness gauge cannot accurately measure the thickness.
500°C high-temperature ultrasonic thickness gauge probe
To measure the thickness of a high-temperature wall, you need to choose a high-temperature probe. Normally, the Zda temperature that the high-temperature probe can measure is 500 degrees, and the measured thickness is about 20% larger. Because the temperature of the material is different, the speed of sound is also different. The speed of sound may become smaller at high temperatures, so the thickness measurement value will be too large. This problem needs to be paid attention to during the measurement process, and the Zda limit reduces the error.

In order to obtain accurate measurement data, the ultrasonic thickness gauge must be calibrated before measurement. Specifically, it is necessary to calibrate the offline and linearity of the thickness gauge first. Generally speaking, the lower limit of the thickness gauge needs to be calibrated with a test block whose thickness is the lower limit. If you already know the sound velocity of the material to be measured, you can adjust the sound velocity value in advance, and then click the calibration button on the test block attached to the thickness gauge to complete the calibration of the thickness gauge.
In order to obtain accurate measurement data, the ultrasonic thickness gauge must be calibrated before measurement. Specifically, it is necessary to calibrate the offline and linearity of the thickness gauge first. Generally speaking, the lower limit of the thickness gauge needs to be calibrated with a test block whose thickness is the lower limit. If you already know the sound velocity of the material to be measured, you can adjust the sound velocity value in advance, and then click the calibration button on the test block attached to the thickness gauge to complete the calibration of the thickness gauge.
Normally, the thickness of the test block attached to the thickness gauge is small. If there is a big difference between the required thickness and the thickness of the test block, you need to use a stepped test block to make the thickness close to the Zda value and the small Z value of the thickness to be measured. Correctly calibrate between the range of, so that more accurate measurement data can be obtained in actual application.


